I'm back today with a new project for the Christmas Craft Creations June Challenge which is Heat Embossing! We hope you will join us this month using this longtime technique. I just figured out how I want to finish this project that I started many months ago and it fits our theme perfectly! Be sure to check out the cards from the whole team for ideas!
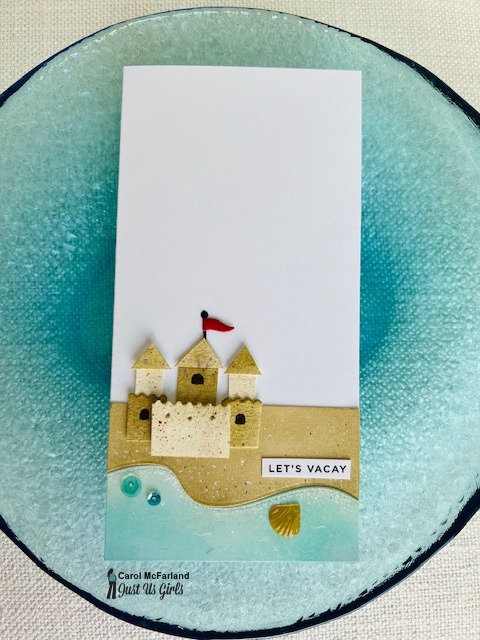
Front
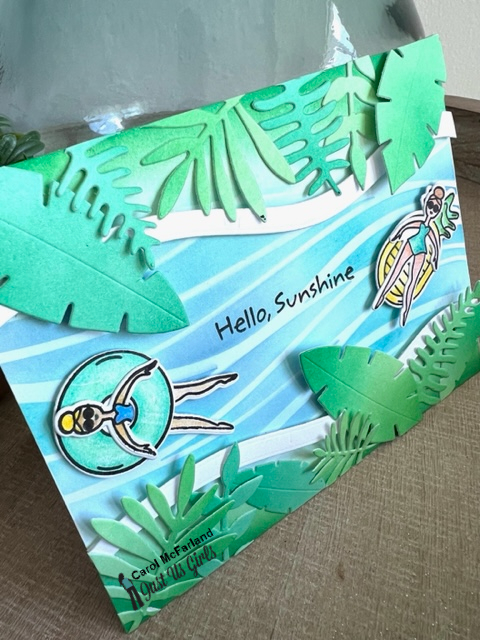
Front
Inside
Back
Extra Activity tags
Products I used:
Pinkfresh Studio: Built on Dreams stamp and die sets
Honey Bee Stamps: Country Christmas Wreath stamp and die sets
Stampin' Up!: Oval and scalloped oval punches
Hero Arts: Tag Infinity dies
Pink and Main: Large Sentiment Strip dies
Patterned papers
Heavy cardstock
White embossing powder
Versamark ink pad
Crop-o-dile
Ribbon
I love handmade mini albums, cookbooks, photo books etc. I decided to make a little book/mini album with heat embossing on the front. I could have made pages for the information inside the covers, but I also love tags and these fit well without showing outside of the houses.
I die cut a house out of brown cardstock, then drew around the die and hand cut two more slightly bigger houses out of pink plaid heavy cardstock. On the brown house, I stamped/heat embossed the house outline, sentiment, heart and gingerbread people for the front of my album. I added die cut patterned papers to all the other sides of the houses, then die cut little tags. I added a little strip of patterned paper on the bottom edge of each tag to keep with the theme. I made a mistake and added a pocket on the outside back of the album, but it isn't hurting anything being there. It stores extra tags. I used my Crop-o-dile to make a hole for the ring to go through the front, tags and back houses. Then I tied a pink and brown bow on the ring and my little book was complete!
Then I decided to print some activities that my family could do during the holidays. I made a document and printed out the activities in brown on white cardstock. I die cut them with my banner dies and adhered them to the tags. I also want to make a holiday cards address book like this with each address on a tag of its own (probably hand written). If any of my friends move, I will remove the tag and write their new address on a new tag. I can add tags to the ring easily if I want to send a card to someone I have not sent one to before.
Also, on each tag you could instead put a thought for the day, or funny quotes, etc....mix them up or change them out each year...all sorts of other uses for these tags...it's got me thinking.
We look forward to your cards in our gallery this month!! Remember that our theme should always be the center of attention on your card and obvious in your photo. See you there soon!
-Carol


.jpg)
.jpg)
.jpg)

.jpg)


.jpg)


.jpg)


.jpg)
